
Stop using the bathtub and shower through their ordinary controls when safe. Keep clear of wet electrical equipment, slippery access and any damaged ceiling below. For continuing or spreading water, call a qualified plumber or building emergency contact and explain whether water remains in the tub. Use only a known safe customer shutoff under its established instructions if ongoing supply water needs stopping. Do not refill or drain the tub to reproduce the leak, remove an overflow cover or add caulk before the source is assessed.
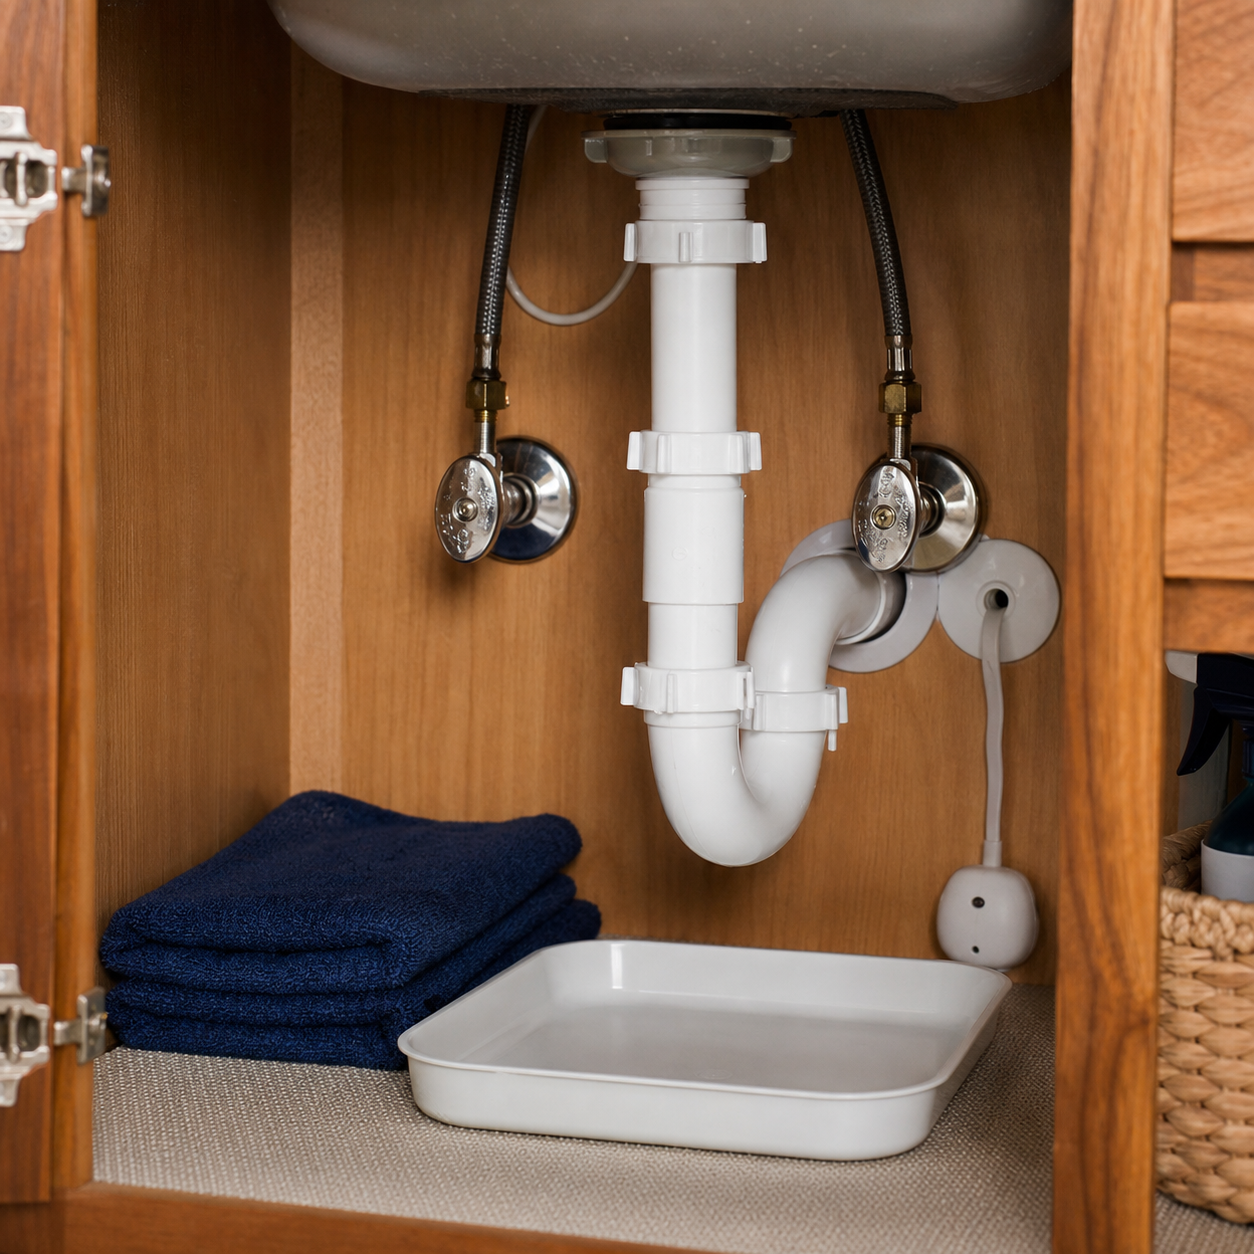

Stop use and tell the provider if water remains
If the bath filler or shower is running, stop it with its normal understood control only from a safe position. Keep the tub and any shower over it out of use while the source is assessed. Do not force a handle or use another bath as a test.
Call urgent plumbing or the building emergency contact for continuing or spreading water. Say whether water remains in the tub and ask how to limit further escape for that installation. Do not deliberately fill to the overflow or repeatedly release water to see when the leak appears. A closed supply limits incoming water; it does not remove water already in the bath or repair its waste connection.
Keep children, pets and other occupants off wet floors. Do not cross water to operate a switch, reach a breaker or unplug a bath-related appliance. CDC warns against switching power or operating electrical equipment while standing in water. Leave an immediately dangerous area and call 911.
If water reaches the room below, keep people away from wet, bulging or sagging overhead material and use the ceiling-leak response guide. Do not stand beneath it to place a bucket, press the stain or make an access hole.
Describe what happened without recreating it
The timing of an existing observation helps the plumber plan an assessment. It does not isolate a failed gasket, drain joint, supply connection, bath shell or surrounding finish. Record the first visible wet location and the activity already happening, including uncertainty.
Use this original report table with observations already available. A safe photograph is optional; a sketch or verbal description can be enough to start the call.
| Observation already made | What to report or ask |
|---|---|
| Water appeared while the bath was filling | Filler in use, first wet location and whether water continues after ordinary use stopped. Ask about safe source/isolation assessment. |
| Water appeared near a high bath level or overflow opening | Existing water level, activity and visible location. Keep the overflow connection unconfirmed; do not refill to that level. |
| Water was first noticed while the bath drained | Timing, any visible floor/ceiling effect and whether water remains. Do not repeat a drain cycle to prove the cause. |
| Water appeared outside a tub/shower enclosure | Door/curtain, wall or bath-edge location. Ask whether plumbing and enclosure assessment are both needed. |
| Several wet locations or an unclear start | List each location and unknowns. Let the provider plan controlled assessment rather than selecting a part yourself. |
Identify the bath and its drain assembly separately
Moen explains that tub drain assemblies may be sold separately from tub/shower valve trim. Its identification guide shows several drain styles. A faucet logo or the way the stopper moves is therefore a starting record, not proof of the installed waste/overflow manufacturer or compatible gasket.
Look first in the existing installation paperwork, invoice or equipment record. Keep the bath model, waste/overflow model, faucet/valve identity and enclosure details in separate fields. If a model is unknown, mark it unknown and ask the plumber or manufacturer to identify it.
The visible stopper and overflow trim are only part of an installed assembly. Do not remove the plate, pull a linkage or twist the drain strainer to identify hidden parts. Tell the provider about recent drain, bath or enclosure work and retain that service record.
Why more putty or caulk is not a universal drain repair
Oatey’s current True Blue installation guide makes sealant selection depend on both the drain component and bathtub construction. It specifically distinguishes pure acrylic from acrylic constructions containing ABS and warns that plumber’s putty can degrade ABS. That example makes material identification important; it does not select a product for an unknown bath.
Ask the responsible provider which exact drain/bath instructions apply and what materials are actually present. A white surface, metal-looking trim or a tube labeled “bathroom” does not establish compatibility at the drain connection. Do not add putty, silicone, tape or a bead around every visible edge as a diagnostic shortcut.
The caulk-attention guide covers suitable small maintenance gaps after their cause and product fit are established. For water near a shower door or wall seal, use the enclosure-response guide too. A finish bead cannot certify the condition of a concealed waste or overflow joint.
Plan service access and verification with the plumber
Access depends on the installed bath. Kohler’s freestanding-bath support discusses access from below and a separate service-removal procedure where that access was not provided. This illustrates why the provider needs the actual installation information; it is not a reason to lift, tilt or disconnect a bath yourself.
Ask where the necessary access is, who will make and restore any opening, and whether electrical or building work needs a separate qualified provider. Do not open a wall, crawl into an unsafe void or remove a panel beside wet equipment to prepare for the visit.
Oatey’s installation guide includes testing after the specified assembly work. That is installation context, not permission to reproduce a current leak. Ask the plumber what controlled verification is appropriate after the identified repair and what the results establish. Do not count “no drip right now” as proof that every connection was repaired.
If supply water continues, follow only the known customer-shutoff instructions when safe and authorized, or obtain urgent isolation help. Texas Water describes the customer shutoff role, but its local valve locations and directions do not identify an unfamiliar or shared-building control. Do not force a valve or guess at utility or fire-system fittings.
Example: a ceiling mark appears after the bath empties
Fictional example: a household notices a new downstairs ceiling mark after an upstairs bath drained. They stop bath/shower use, keep people away from the affected ceiling and call the plumber or building contact. If the area involves a light or unstable material, the appropriate urgent safety help comes first.
The report says “mark first noticed after draining; source not confirmed.” The household shares the available bath and installation records and says whether any water remains. They do not fill it again, blame an overflow gasket from a photo or tighten the plate screws.
The provider establishes the source and repair plan. The household separately asks who assesses the ceiling and concealed wet materials. The example illustrates useful observations, not proof that a drain fitting caused the mark.
Keep source repair and wet materials on separate follow-ups
EPA advises prompt repair of water problems, complete drying and experienced help for significant or contaminated-water damage. Arrange appropriate assessment of affected floors, walls and the area below; a repaired drain does not by itself establish that concealed materials are dry.
Record the identified source, actual work, verification result and instructions before normal use. The wet-drywall guide supplies questions before patching or painting. Keep any remaining material or finish work assigned to a person and next step on the free homeowner checklist.
- Bath, drain/overflow, valve and enclosure identities or known gaps: ___.
- First visible water, timing and activity already happening: ___.
- Whether water remains; continuing flow and controls already used: ___.
- Electrical, ceiling, contaminated-water or access concerns: ___.
- Provider, source finding, agreed repair and service-access plan: ___.
- Completed work, provider verification and return-to-use instructions: ___.
- Affected-material assessment, drying and finish follow-up: ___.
A powered or jetted bath adds an equipment-service question
If the bath has jets, an air system or a heater, report which functions were already in use and which system details are unknown. Stopping the filler, stopping jets and handling water already in the tub are different questions. Keep the bath out of use and ask the actual manufacturer or qualified bath-service provider to coordinate with the plumber and electrician where needed.
The jetted-bath leak guide adds a service-call table and a fictional quiet-pump-before-completed-repair example. Its identified Kohler manual illustrates model-specific service access and optional equipment; it does not select instructions for another bath. Do not refill, reset protection, remove jets or open a wet equipment panel to decide whether the waste connection or powered system is responsible.
When to call a professional
Stop and contact a qualified plumber or other appropriate professional if water is actively spreading, you cannot safely find the shutoff, the leak involves a wall or ceiling, or a repair would require changing plumbing.
Related guides
Sources
- Moen: Tub and Shower Drains — assembly identification separate from faucet trim
- Oatey: How to Install a Bathtub Drain — True Blue example; material-dependent sealant and installation verification
- Kohler Assist: Freestanding Baths — service access varies; model-specific procedure
- CDC: Reentering Your Flooded Home — wet-electrical access boundaries
- Texas Water: Find Your Water Meter & Shut Off Your Water — customer control role; local instructions apply
- EPA: Mold Cleanup in Your Home — prompt source repair, drying and appropriate experienced help
- Kohler: Installation and Care Guide 1193347-2-B — specific 120 V whirlpool with custom pump location; safety, service access and optional heater context
- Reveal by Kohler: Air Tubs vs. Whirlpool Baths — air-jet, water-jet and combination distinctions only
- Kohler Assist: Whirlpool Heater Not Working — explicit product-family limits; troubleshooting steps not adopted for a leak
- Kohler: Customer Service & Product Support — actual product documents and support route
- ESFI: Water-Damaged Electrical Equipment — qualified evaluation and limits of drying
Free next step
Download the free seasonal maintenance checklist to record observations and follow-up tasks. See the seasonal maintenance routine for more context.
Affiliate disclosure
No affiliate links appear in this guide. If a reviewed recommendation is added, the disclosure will appear beside it.