
Measure the usable inside floor, the path through the cabinet opening, and the space occupied by pipes and other fixed obstructions. Compare those measurements with the exact tray's outside dimensions and instructions. Do not loosen plumbing, move electrical connections, or cut a tray to make an uncertain fit work.
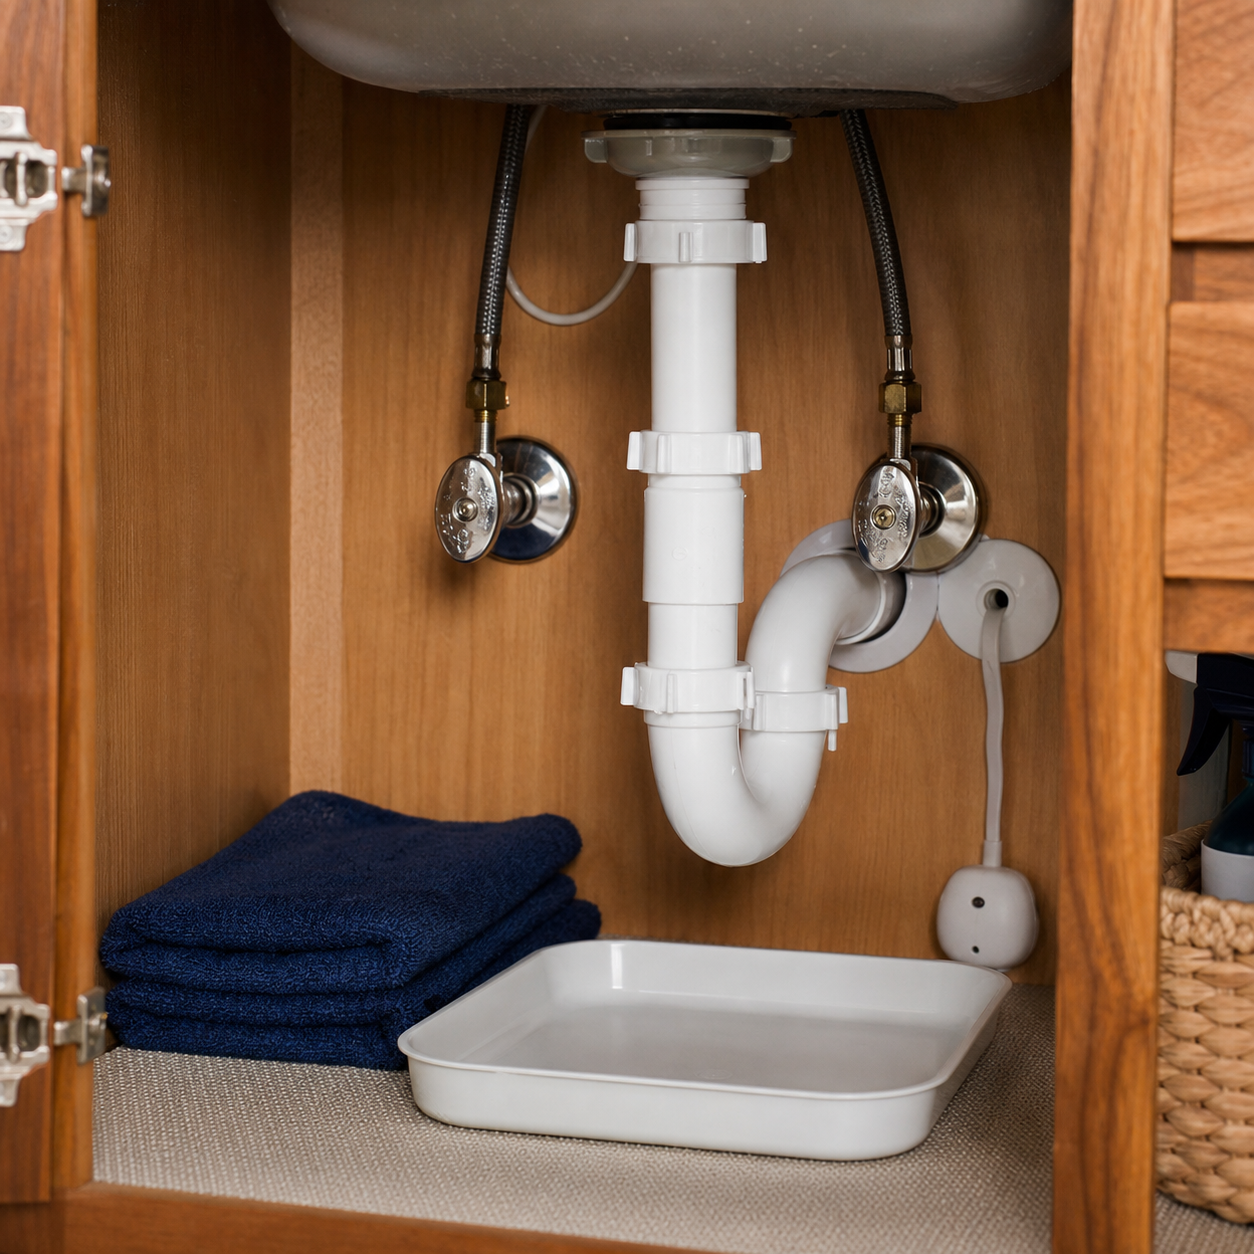

Start with a dry, accessible cabinet
This is a measurement job for a dry cabinet with safe access. If water is actively leaking, there is damaged or swollen material, mold-like growth, or water near an outlet, disposal wiring or an appliance connection, stop and arrange appropriate help. A new liner should not hide an unresolved problem. EPA's home-maintenance guidance emphasizes identifying and addressing leaks.
You need a tape measure, a light and a simple sketch. Remove only ordinary loose stored items that you can safely handle; leave pipes, hoses, valves, cords, disposal equipment and fixed organizers in place. Keep cleaners in their labeled containers and away from children and pets.
Record the floor you can actually use
Do not order from the cabinet's outside width or a nominal kitchen-cabinet size. Xtreme Mats tells customers to measure inside from side to side and front to back, and to note plumbing entering through the floor.
Record these measurements before choosing a tray:
Keep units consistent. If the cabinet narrows or has an unusual shape, record more than one measurement and sketch the obstruction rather than treating the largest number as usable everywhere. You do not need to reach into an unsafe area to complete the worksheet; an unresolved measurement is a reason to ask for help.
- Clear inside width across the intended tray footprint: ___
- Clear front-to-back depth of that footprint: ___
- Narrowest accessible part of the opening: ___
- Center post, hinges, raised threshold or fixed organizer: ___
- Pipes or lines coming through the cabinet floor: ___
- Lowest obstruction above the proposed tray rim: ___
- Exact candidate tray model and outside dimensions: ___
Check the way in, as well as the final footprint
A tray may fit on the floor yet be difficult to pass through a divided door opening. A rigid tray and a flexible mat can have different insertion requirements. Check the selected manufacturer's instructions rather than assuming every product bends or can be trimmed.
Xtreme Mats says the tray cannot exceed the usable inside dimensions and warns that pipes through the cabinet floor can require product modification. This guide does not cover modification. If a continuous tray will not fit around existing plumbing, ask the manufacturer for a suitable unmodified option or choose another approach.
A fictional sizing example
Suppose you record 28 inches of clear width and 21 inches of clear depth. A tray whose outside dimensions are 28.25 by 22.25 inches fails that comparison before any other fit questions are considered. Do not assume you can force up its edges or remove a cabinet component.
A smaller candidate still needs a second check: can it pass through the opening, clear the fixed obstructions and sit as its instructions require? These example numbers do not recommend a product or establish a universal clearance allowance.
Send useful questions to the manufacturer
Provide the exact candidate model, your sketch, inside measurements and a photo without private household information. Ask whether dimensions are maximum outside measurements, whether the opening permits insertion, whether the rim needs extra clearance, and whether the design is intended for a floor penetrated by pipes.
Do not substitute a typical “kitchen” or “vanity” dimension for your measurements. Even the manufacturer's general pages use different nominal depth descriptions; the exact SKU and current instructions should settle the decision.
Keep inspecting after fitting
A tray is a containment aid. It does not repair plumbing, make a damaged cabinet sound, or guarantee that water reaches a sensor. Keep plumbing service access clear, follow any detector's placement instructions and check the area according to the relevant manuals. If you later notice water, investigate safely and arrange help rather than simply emptying the tray indefinitely.
Resolve cabinet damage before choosing a new liner
If a leak has left swelling, separation or another material concern, pause this measurement task and arrange qualified assessment. A tray that fits the footprint does not restore the core or establish safe support. Keep the source repair, cabinet finding and surrounding wet-area follow-up separate.
The swollen-cabinet guide explains finish versus facing/core questions and a repair-scope comparison. After completed work and confirmation that normal use and access are appropriate, measure the actual finished interior again. Do not assume the old dimensions or a new liner settle the repair.
When to call a professional
Stop and contact a qualified plumber or other appropriate professional if water is actively spreading, you cannot safely find the shutoff, the leak involves a wall or ceiling, or a repair would require changing plumbing.
Related guides
Sources
- EPA home maintenance
- Manufacturer measuring FAQ
- Manufacturer sizing constraints
- Formica U.S.: Care and Maintenance — laminate seams, substrate swelling and cabinet surface-care scope
- NC State Extension: Flood-Damaged Furniture, Sarah Kirby, June6,2014 — solid wood, veneer and swollen particleboard; furniture/flood context
- Burrows Cabinets: How to Care for Cabinets — moisture-related finish changes and manufacturer-specific care
- EPA: Mold Cleanup in Your Home — source correction, complete drying, contaminated-water expertise and finish limits
- CDC: Reentering Your Flooded Home — standing-water electrical precautions
Free next step
Download the free seasonal maintenance checklist to record observations and follow-up tasks. See the seasonal maintenance routine for more context.
Affiliate disclosure
No affiliate links appear in this guide. If a reviewed recommendation is added, the disclosure will appear beside it.